Here we are in day 16 of the
US Federal shutdown and we all know it's about
power and
control. About
steering the system in particular direction despite what the subjects want.
Speaking of power steering control, I have a
pretty, newly rebuilt, control valve but nothing yet to subject to it's control and what good is control if you have nothing to control? Enter the power cylinder. This is the hydraulic ram that forces the center link to one side or the other depending on which way the steering wheel is turned. Unfortunately, there's isn't much that can be serviced on these power cylinders. You can replace the boots and seals and that's it. You can't refurbish the plunger inside the cylinder or even the center link ball stud on the back end. So, that's all that's really needed on this task so I'll go over it here.
The first thing is the removal of the center link ball stud boot. This just involves removing the clamp and working the boot back up and over the end of the cylinder. Mine was badly hardened and pretty much just split. Sadly there's also no way to replace the grease in the ball stud socket. I pretty much left it alone because I didn't want to remove the grease in there with no way to replace it.
Next, I gently supported the cylinder in my bench vice and removed the nut from the end of the cylinder arm and worked the old bracket and rubber bushings off the threads followed by the remnants of the flexible dust boot.
 |
| Clamp removed, ready to pull off the boot. |
 |
| Dryed out and cracked. |
 |
| Removing the frame bracket. |
 |
| It's off! |
I then took the cylinder to my brass wire grinder wheel and removed the years of rust and grime. When the dust settled, what I was rewarded with was the very prominent
dent in my power cylinder. I hadn't noticed it earlier due to the dirt and grime. I ran the arm back and forth and felt an obvious bind in the action so this cylinder is officially unusable. I could buy a refurbished cylinder for around $140 but I already had the seal kit and replacement boots and bushings plus I had an extra power cylinder. The one that I had received with the package deal I'd bought for my
disk brakes over four years ago. Part of that deal was the power steering assembly from a 71 Ranchero. The other parts in the set were not usable (other than some control valve parts) but the power cylinder looked pretty much identical so I set to work tearing it down in the same way I had done the previous one. Sadly, this one too had some small dings in the cylinder housing. I panicked a little as I tested the action of the arm and could feel no binding so I shrugged and forged ahead.
 |
| Aw crap... a dent. This cylinder is unusable. |
 |
| Removing the 71 Ranchero cylinder frame bracket. |
 |
| It helped to clamp the flattened end of the arm in a vice to loosen the nut. |
 |
| The bracket removed. |
 |
| The cylinder ready to be refurbished. Also has some dings but is still usable. |
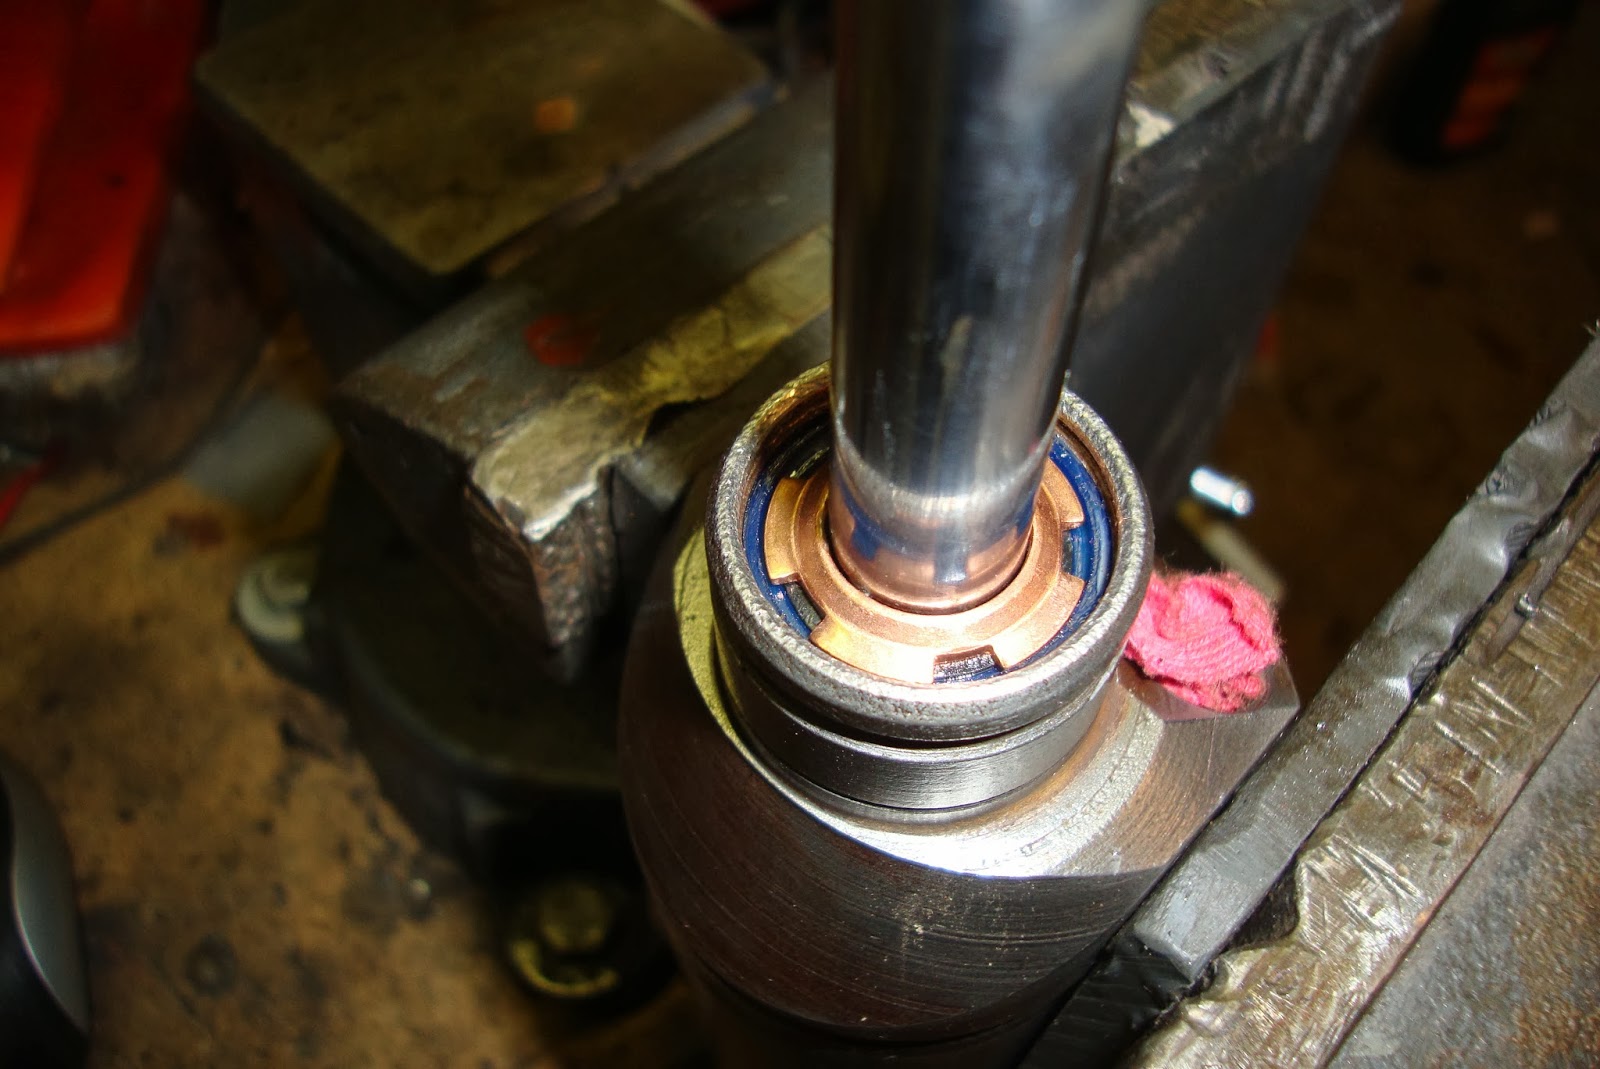
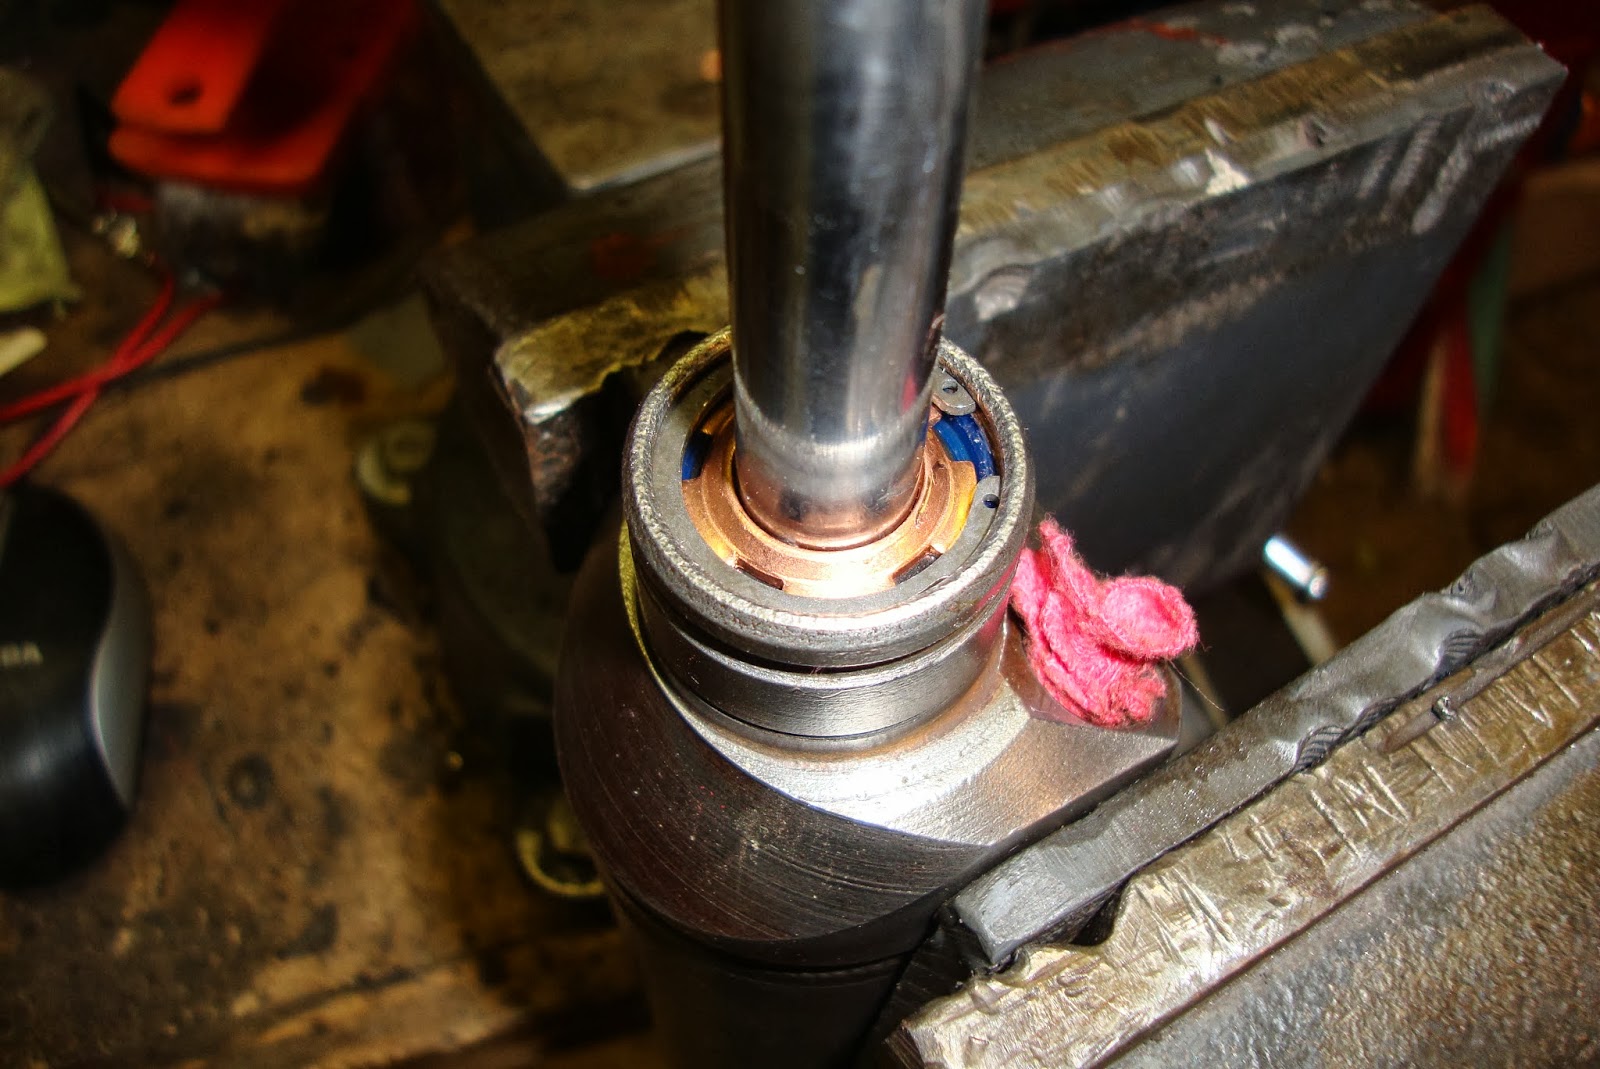
The replacement of the seals is a pretty straight-forward removal and re-insertion of a stack of 7 parts, each included in the
rebuild kits available. The whole stack is held in with a single snap ring. The rest can be worked out of the housing with a dental pick or similar.
 |
| Removing the snap ring and "scraper" |
 |
| The rubber wiper |
 |
| Removing the rubber wiper |
 |
| The retainer |
 |
| Removing the retainer. This was actually kind of difficult. |
 |
| Seal #1 |
 |
| Insert between Seal 1 and Seal 2 |
 |
| Seal 2 visible. This one was tough to remove. I had to drill little holes in it to pull it out. |
 |
| Whew, got them all out. |
 |
| The abyss |
 |
| Seal 1 going in |
 |
| I used a length of pipe to gently seat the seal |
 |
| Insert between seal 1 and seal 2 |


Just read my last post from your initial work on the power steering work you've done so far, Alex. DITTO!!!! Excellent!
ReplyDeleteThanks Dennis!
DeleteNice work Alex!
ReplyDeleteThanks Tom!
Delete