It would be great if I could just use the same paint on the column parts that I had used on the dash and doors but there are two soft pads, the plastic steering wheel, and an emergency flasher bezel to worry about as well. For those, I purchased a
light parchment dye from CJ Pony Parts. This stuff is meant to be used on "soft parts" and plastics. Before I committed to spraying all of my soft and plastic parts, I felt the need to do a test. The part I chose to test on was the center steering wheel pad. This part is available in reproduction for around $27 so I felt the risk was minimal plus it's small enough to strip if I had to start over. I cleaned it with soap and water and then scrubbed it with lacquer thinner although there's an official style vinyl prep that I didn't bother to purchase. It turns out that the lacquer thinner removed the paint from the pad but didn't damage the pad itself (bonus!). Don't trust me on this though because it's not like I soaked the pad in thinner or anything. Rather, I just rubbed it with a rag with thinner on it so proceed at your own risk. I worked it pretty hard though and got it very clean which I think is the key to spraying vinyl parts.. clean clean and then clean some more. Spraying vinyl parts appears to be subject to the same rules as lacquer, many thin coats. Again, if you go too fast, you'll get fish-eye and runs.
 |
| In the beginning. |
 |
| Pulled off the firewall mounting bracket. Oh rust, how I've missed you... not. |
 |
| Huh.. this looks vaguely like all my toys when I was kid for some reason. |
 |
| This is the collapsing joint that makes the steering column safe. The inside shaft slides into the outside shaft and thus collapses if you smack it with your melon. Note the plastic sheer pins. Wouldn't take much. |
 |
| After the paint was stripped from the column. Note the discoloration on the left. Presumably from the heat used to shrink the shrink tubing. |
 |
| Cleaned up center pad. |
 |
| Center pad after paint. |
 |
| The center pad passed the "fingernail scratch test" so I moved onto the larger parts. |
 |
| All of the metal parts after blasting and primer. |
 |
| Painted an ready to reassemble. |
You might notice in the pics above that the wheel pads are very white compared to the other off-white light parchment painted parts. That's because I soon realized that the CJ Pony dye is the wrong shade! It's the earlier light parchment. So, I cheated a little. I read the NPD lacquer can more carefully and it clearly states that it's suitable for metal and hard plastic parts. Loop hole! I utilized the CJ Pony Dye as a base coat, a kind of primer, and then sprayed two coats of NPD interior paint over that. This wouldn't fly for soft items like seats though since the NPD paint would pretty much crack and flake away if it were flexed too much.
The following pics are pretty much just the assembly sequence of the steering column for reference. Skip to the bottom two pics for the finished dash.
 |
| Freshly painted signal and bearing housing with the bearing inserted |
 |
| How it all aligns. |
 |
| There are these two square-head bolts that stick through the back side of the signal housing. See that slot above the bolt head? That bolt head drops into the slot in the tube and is used to pull the cone against the bearing housing (in addition to the two sheet-metal screws). See below for alignment. | |
 |
| This is an inside view of those square-head bolts inserted into the slot in the tube. To get these started, you have to insert the bolts into the signal housing holes and barely thread their nut onto the first couple of threads to keep them from falling out. Then it's a painful coordination to cock these bolts up over the tube and into their slots. Then pull the two halves together and tighten the nuts. |
 |
| The assembled housing mounted to the cone and tube. The two silver nuts are for the square head bolts from above. Then there are the two black-headed sheet metal screws. |
 |
| The signal switch screwed in with three screws. |
 |
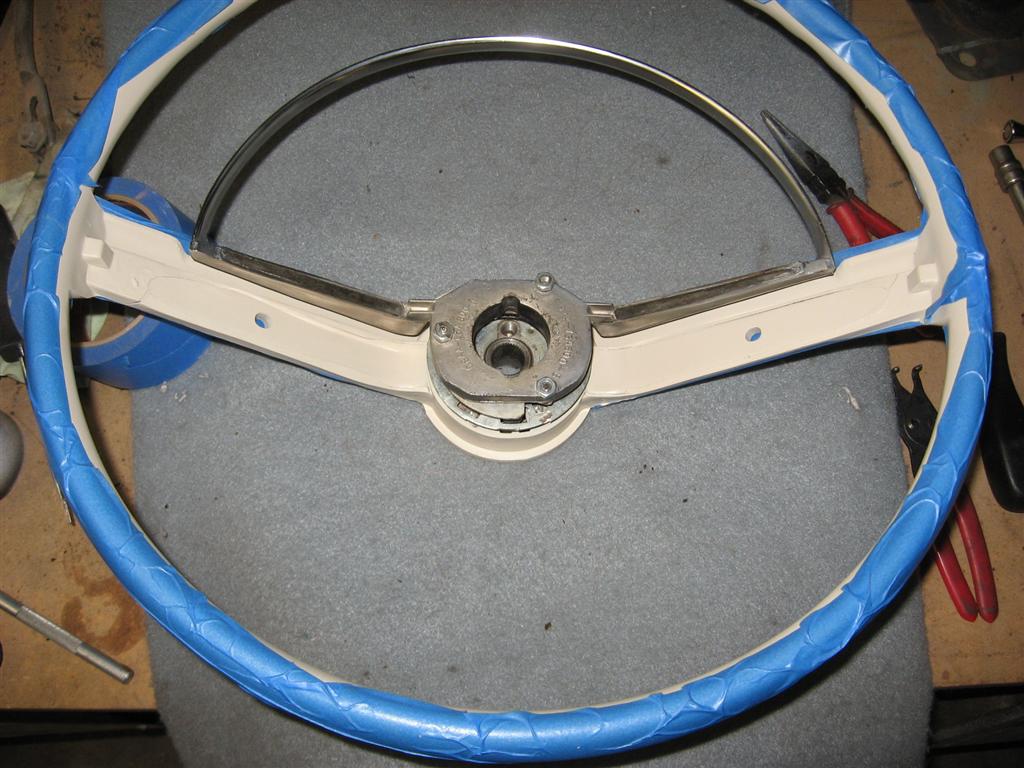
| These are the power tracks from the underside of the steering wheel. They're upside down here but this shows the alignment of the three rings. |
 |
| The three rings (power tracks) on the underside of the steering wheel coated with a layer of "Bulb Grease". |
 |
| The horn side of the steering wheel with the first component locked into place. There's a spring below it and it's pushed down into a slot and rotated to lock it into place. BTW, those three studs are inserted into the horn ring but they're definitely not original. I might have to buy a repro horn ring contact kit. |
 |
| The horn ring insulator. |
 |
| Horn ring contact plate. |
 |
| Horn ring contact rubber spring. |
 |
| Finally, the horn ring itself bolted on. |
It looks like CJ Pony Parts (and others I'm sure) carry the "
Horn Ring Contact Kit" with the above components if needed.
Finally, the steering column was bolted into the dash and firewall
 |
| The firewall seal and mounting bracket. |
 |
| This is how the dash clamp goes together. It's all based on the pedal bracket that has to be in before hand. |
 |
| The firewall bracket screwed in. These are the original screws and their mounting pattern. Why it was done this way with these particular (gold??) screws, I have no idea. The bracket has 4 regular stamped mounting holes, one at each corner, and then two seemingly randomly driven screws. Strange. |
And now for the completed product:


No comments:
Post a Comment